

Design Watercolor Background In Photoshop?
Watercolour paintings are a hugely popular art manner that tin be incorporated into your pattern projects, but you lot don't need to be a master artist to create such imagery when Adobe Photoshop can produce realistic watercolour furnishings with a cocktail of born filters. In today's tutorial I take you through a range of settings that will convert any photograph into a hand-made watercolour mode painting.
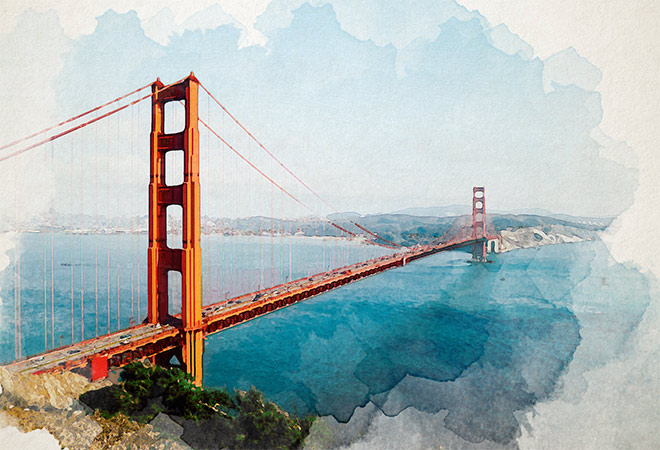
The effect we'll be producing in this tutorial mimics the aesthetics of a hand painted picture using watercolour paints. A range of Photoshop filters will produce the foundations of the upshot, so the addition of a paper texture and deformation with watercolour Photoshop brushes add an extra level of realism to produce a convincing effect.
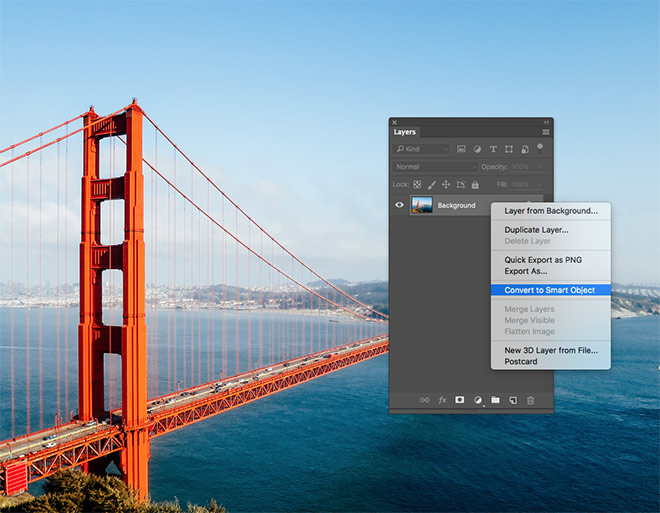
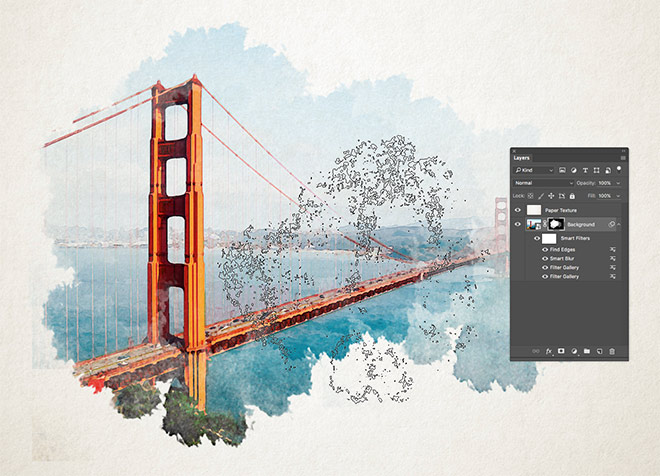
Open your called image in Adobe Photoshop. I'1000 using this photo of the Golden Gate Bridge by Patrick Tomasso from Unsplash.com. Correct click on the background prototype layer and select Convert to Smart Object.

Head to the Filter menu and select Filter Gallery. Navigate to the Artistic category and select Dry Castor, then change the settings to ten Brush Size, 10 Brush Particular and 1 Texture. Click OK to apply the effect.

Select the Filter Gallery menu choice again, making sure non to choose the selection at the summit, which would reapply the same effect. This time select the Cutout filter and configure the settings to 5 Number of Levels, 4 Edge Simplicity and 1 Edge Fidelity.
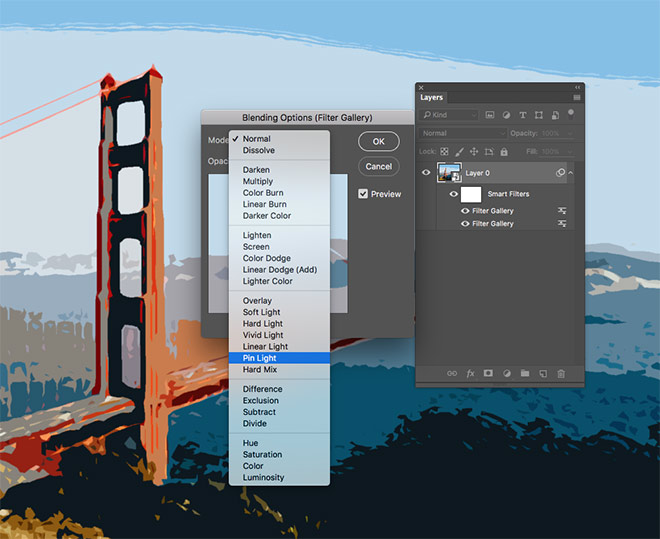
In the Layers console, double click the tiny settings icon next to the top Filter Gallery entry. Change the blending mode to Pivot Light.
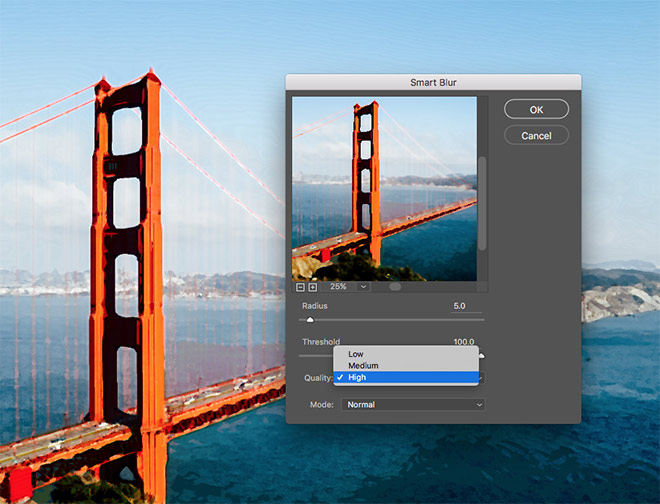
Click the Filter menu again, this time become to Blur > Smart Blur. Enter the settings of 5 Radius, 100 Threshold and change the Quality to High.
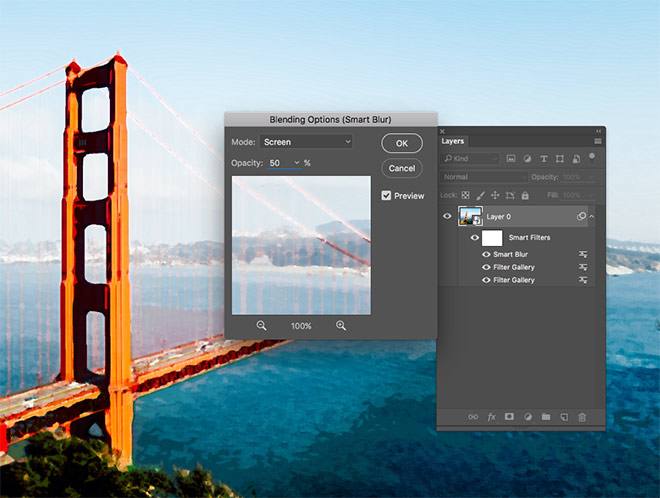
Double click the settings icon and change the blending mode of the Smart Blur outcome to Screen and reduce the opacity to fifty%.
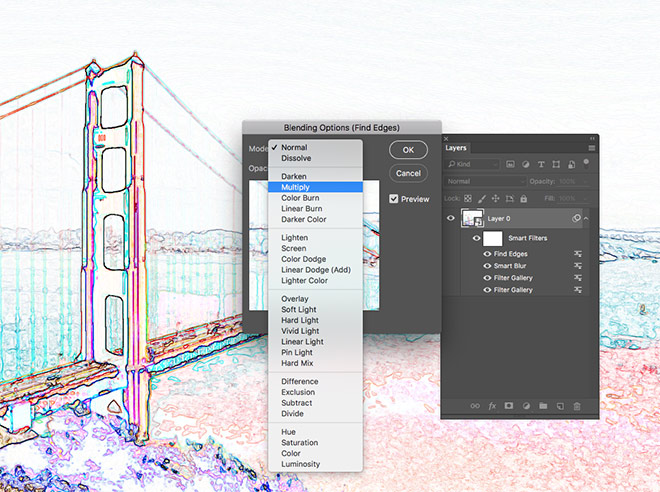
Caput to Filter > Stylize > Observe Edges. Edit the Blending Options and change the blending style to Multiply to return this layer's groundwork transparent, this will get out merely the details of the discover edges result to represent pencil sketch lines.
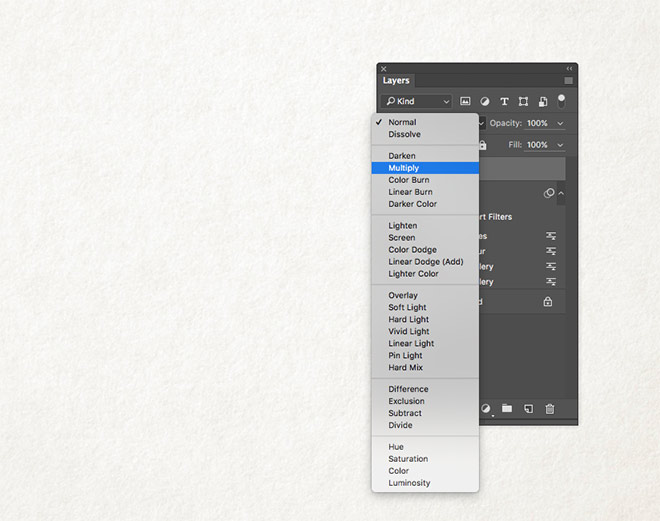
Observe a free paper texture, such every bit this Ivory Off White Newspaper Texture. Copy and Paste the texture into the Photoshop certificate and scale information technology to size to fit over the canvas. Change the blending way to Multiply.
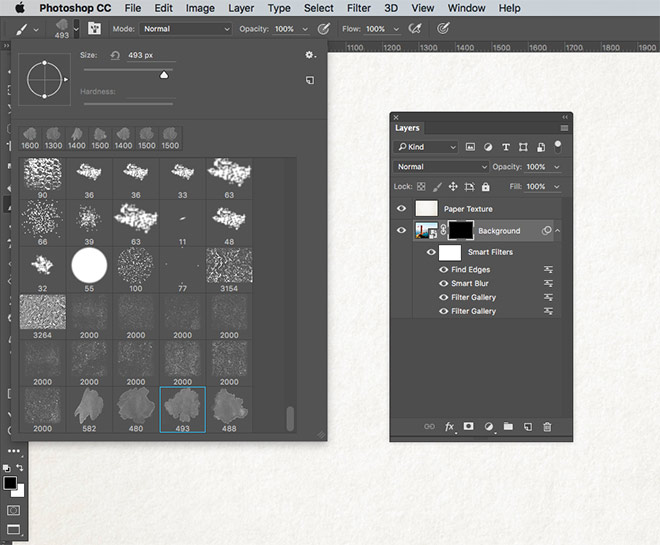
Download and install this costless fix of Watercolor Photoshop Brushes [Edit: The original brushes used in this tutorial are no longer available. Try these or these instead]. Add a Layer Mask to the Background layer, and so utilise the ALT+Backspace shortcut to fill up the mask with blackness, which will effectively erase the entire photograph. Select the Brush tool and choose ane of the watercolour brushes.
Switch the foreground colour to white in the toolbar, so employ the square bracket keys to accommodate the size of the castor. Click around the canvas to restore the photograph with watercolour style bleeding around the edges.
Later a few clicks, change the brush to an culling watercolour option and go along restoring the image with a range of watercolour tones to avoid repetition.
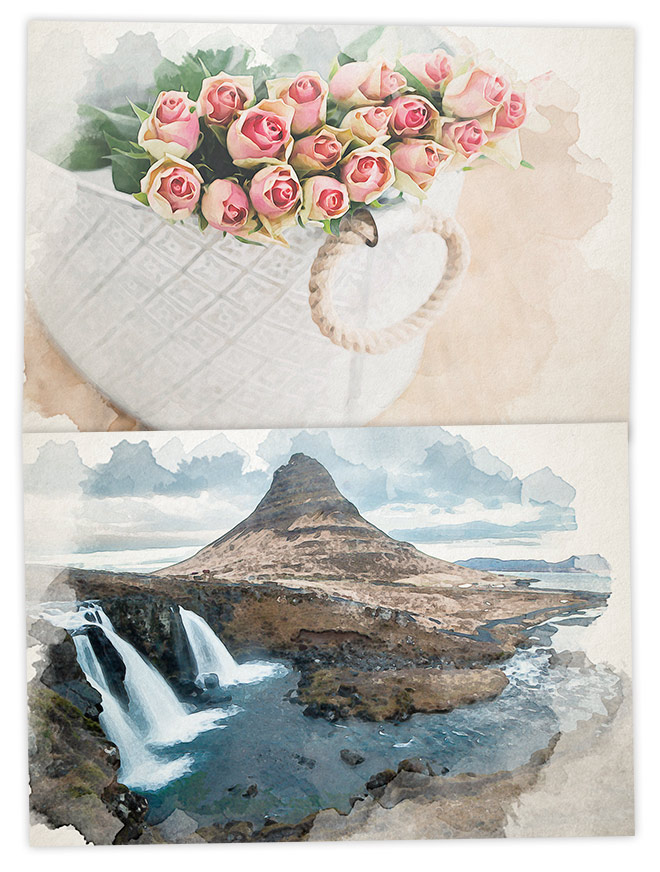
Since all the effects have been set as part of a Smart Object, then watercolour painting issue can exist applied to an culling photo past editing the contents of the Smart Object layer. Double click the Smart Object layer'southward thumbnail to open the .PSB file. Paste in a different image then salvage and close the file. Render to the main document to find all the effects take been instantly applied to the new film.
Admission This Download

Design Watercolor Background In Photoshop?,
Source: https://blog.spoongraphics.co.uk/tutorials/create-watercolor-painting-effect-photoshop
Posted by: daviskniout.blogspot.com
0 Response to "Design Watercolor Background In Photoshop?"
Post a Comment